Off late, I have been working with Industrial IoT projects with Kepware Server, Azure IoT Edge and IoT Hub. During one of those, there was an ask to use an excel file with hand crafted data to be used as input data source at the edge. While investigating options including writing custom module at the edge to read the excel and send row by row, I realized that Kepware Server can be used along with Advanced Simulator. Being a noob on Kepware this was quite a surprise.
As I started configuring this, it took sometime to get this up and running and definitely a few steps and caveats along the way. So I thought why not give the screenshots and walk you through the steps and configuration needed.
Before I got ahead thanks to my friend Akhila (akhilahebbar@outlook.com) for troubleshooting and figuring out some of these specific roadblocks which a noob like me was trying to figure out from manuals.
Let’s us go ahead and deep dive into the Kepserver Ex and learn the specifics of using Advanced Simulator driver.
Simulator Setup
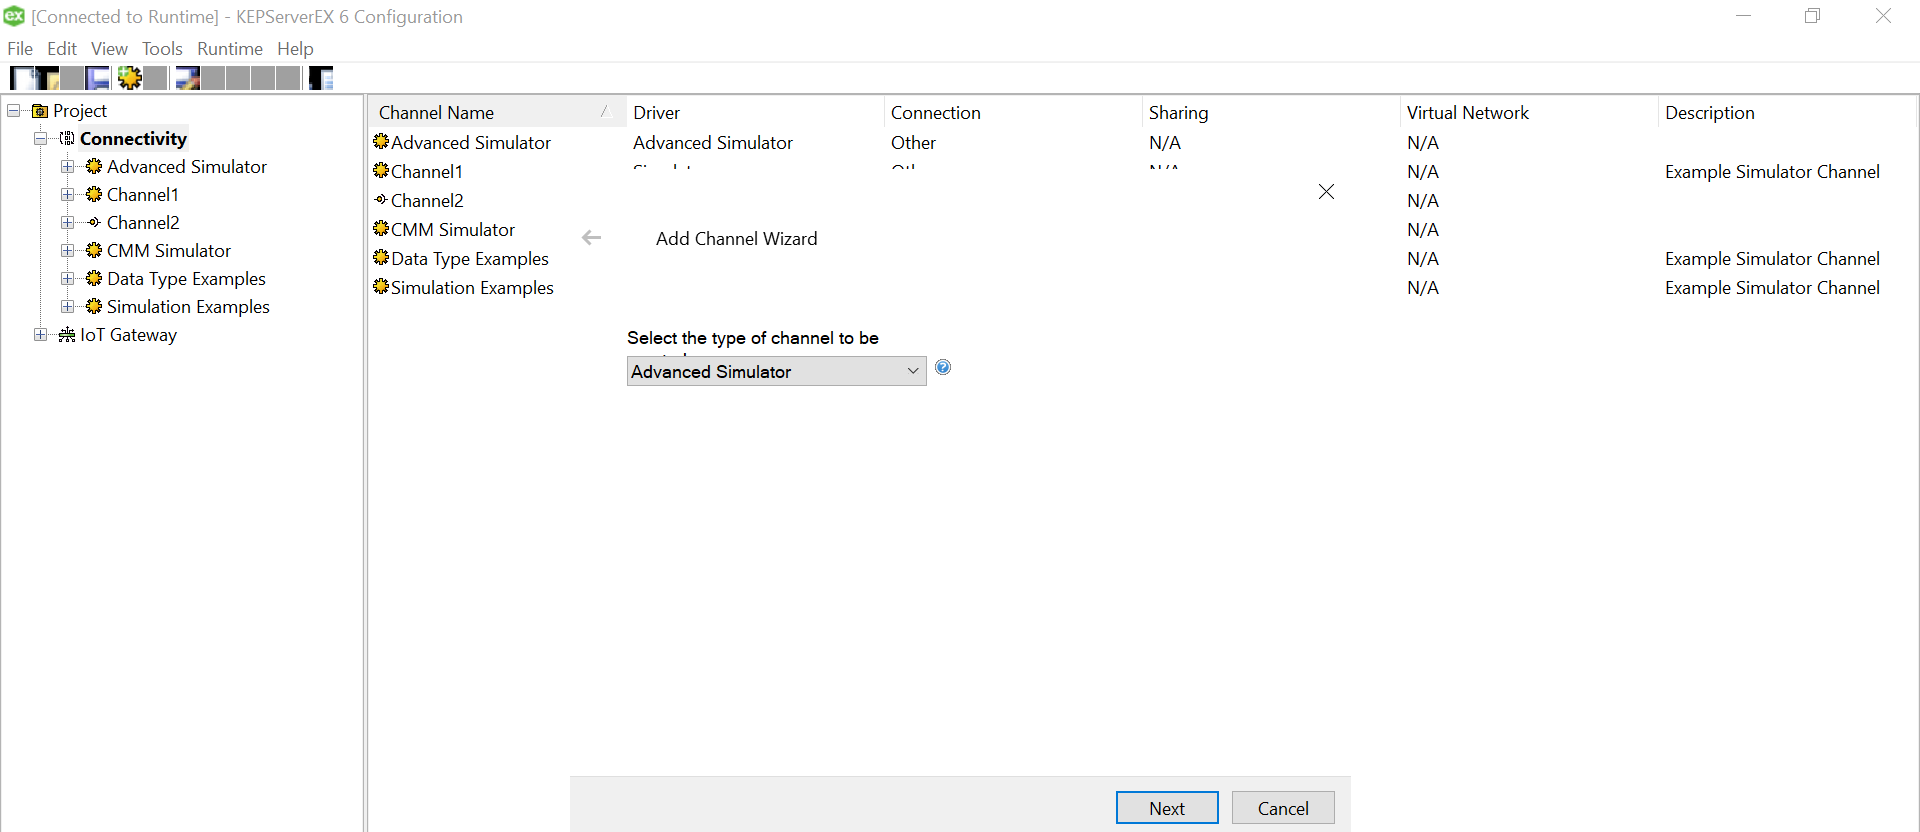
Let us create a new channel and set the type of the channel to be Advanced Simulator
Provide a useful/meaningful name to the channel and proceed.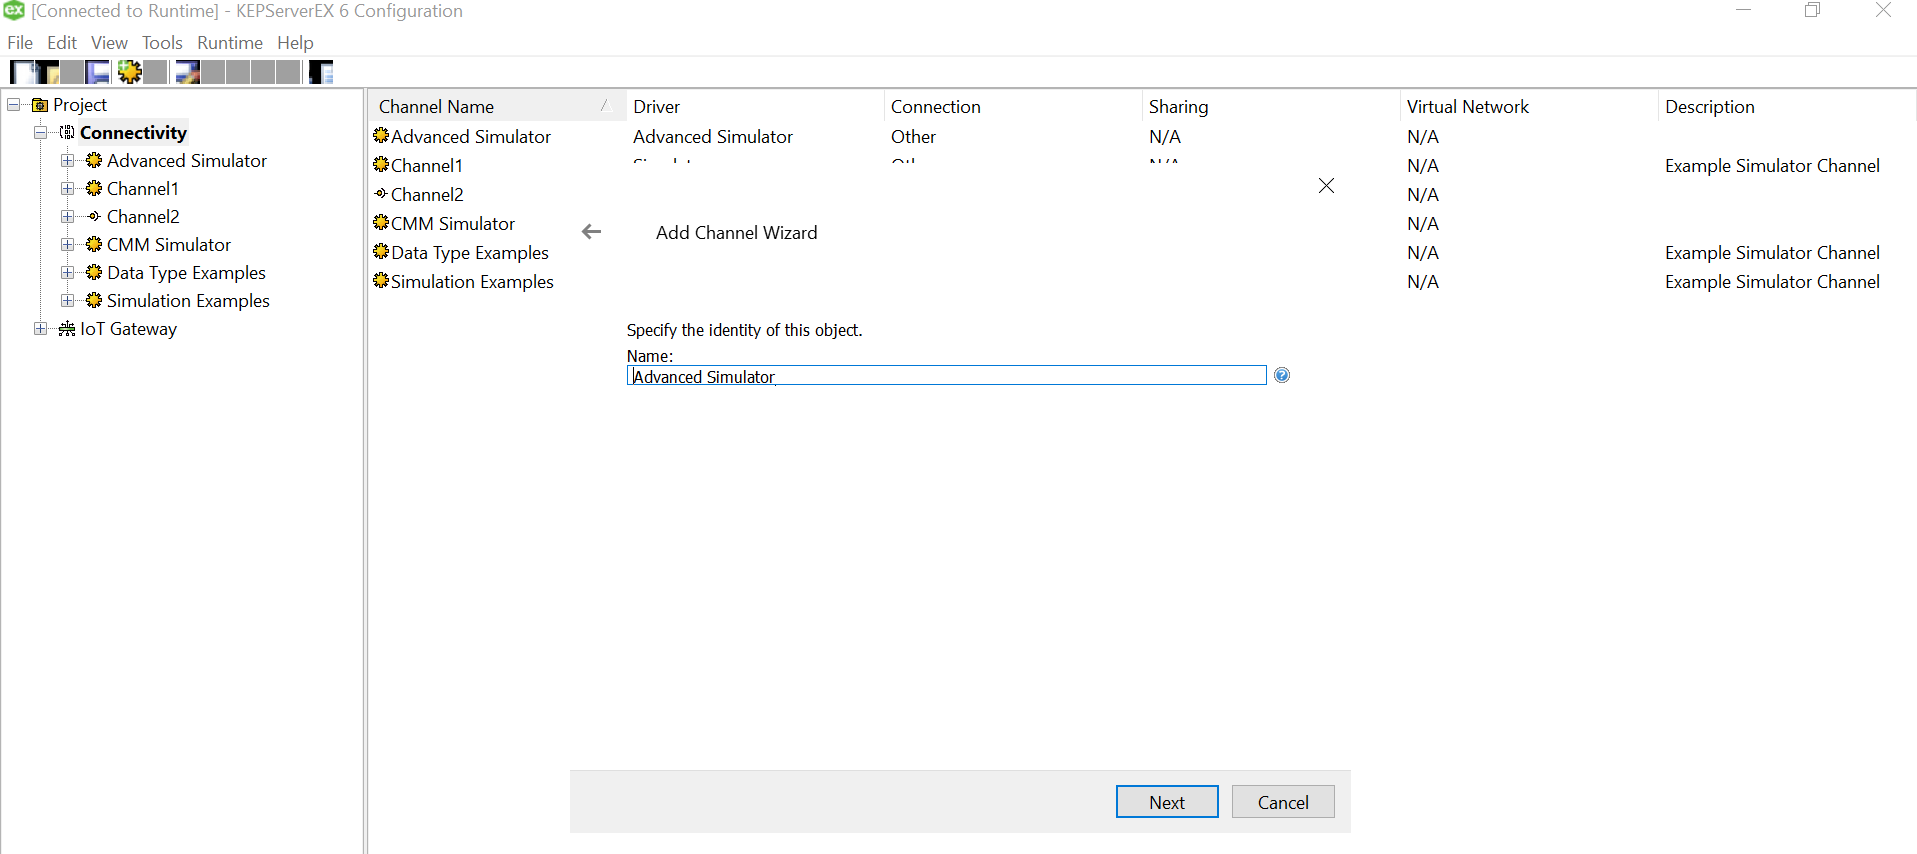
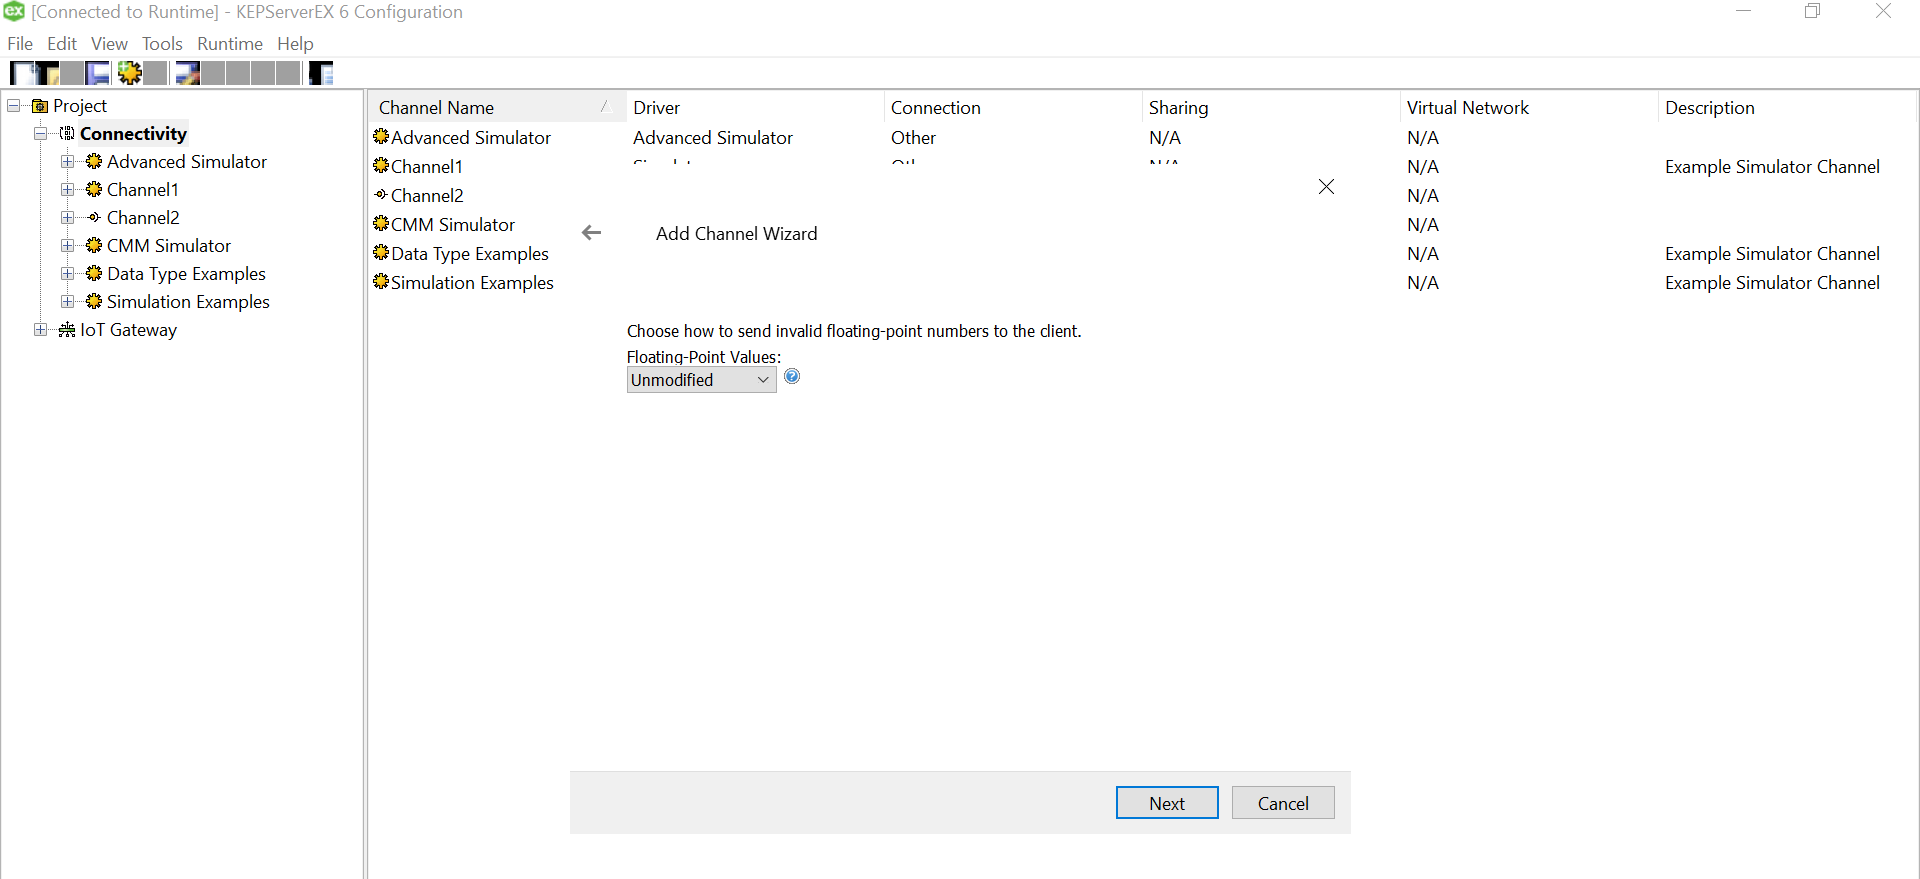
Since we won’t be changing much of the default settings for this demo, let us leave the next pages as is and proceed.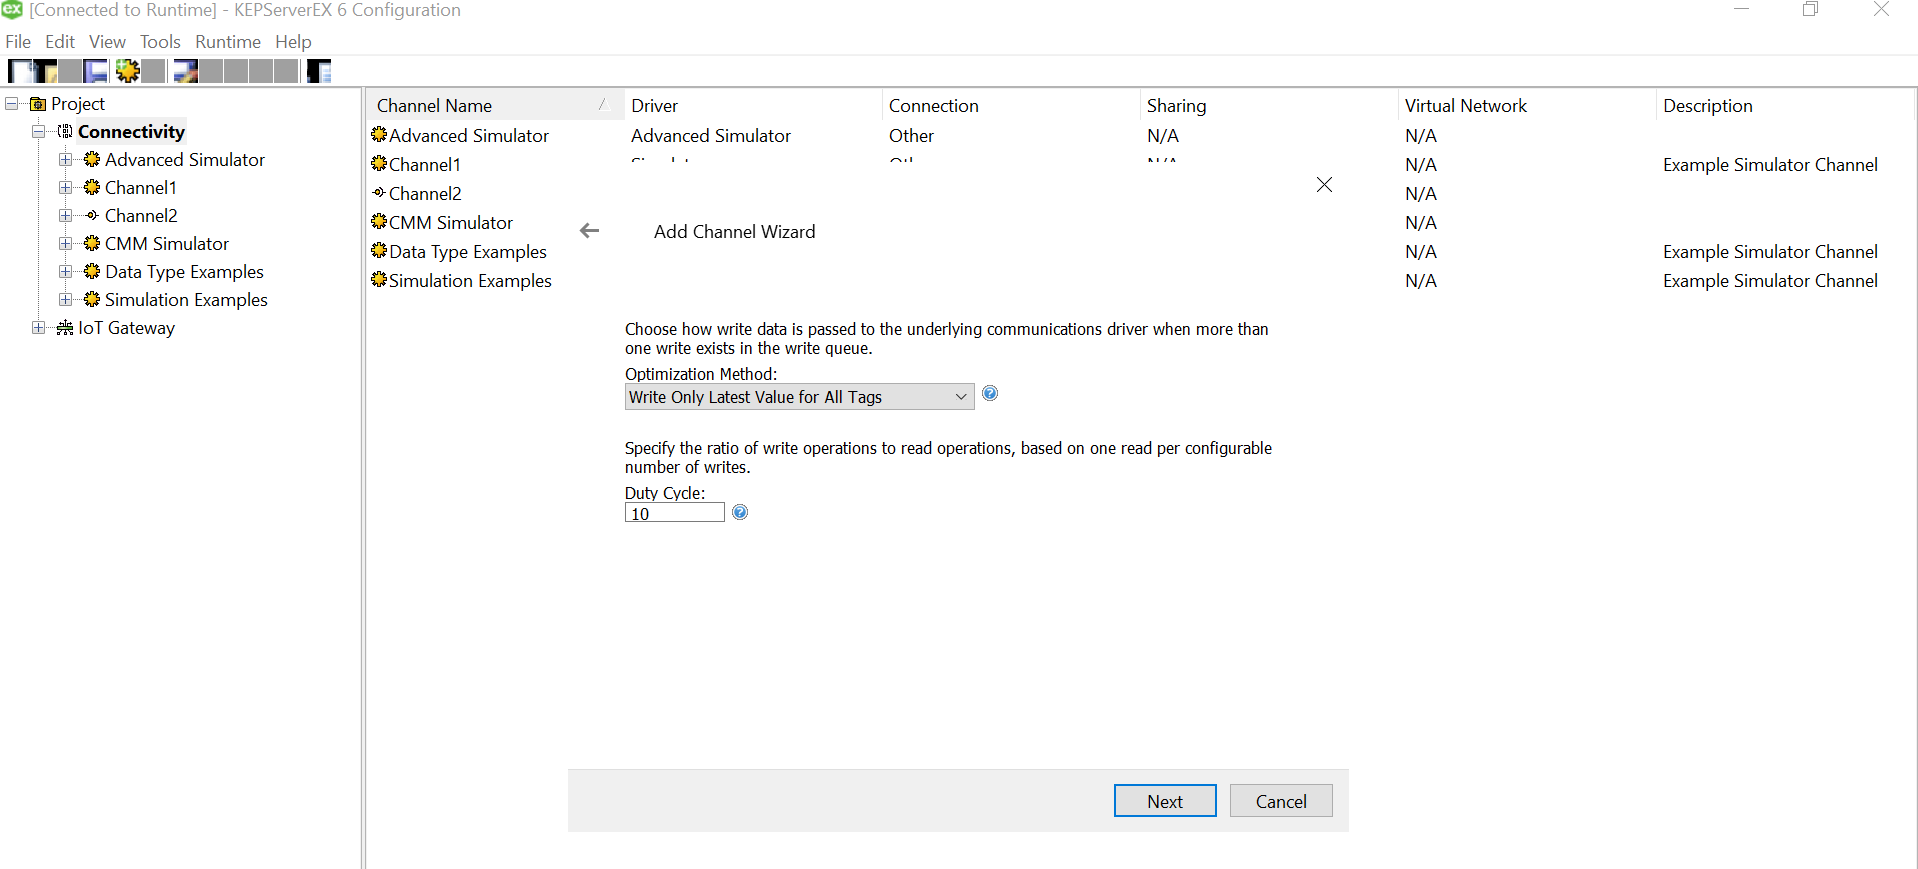
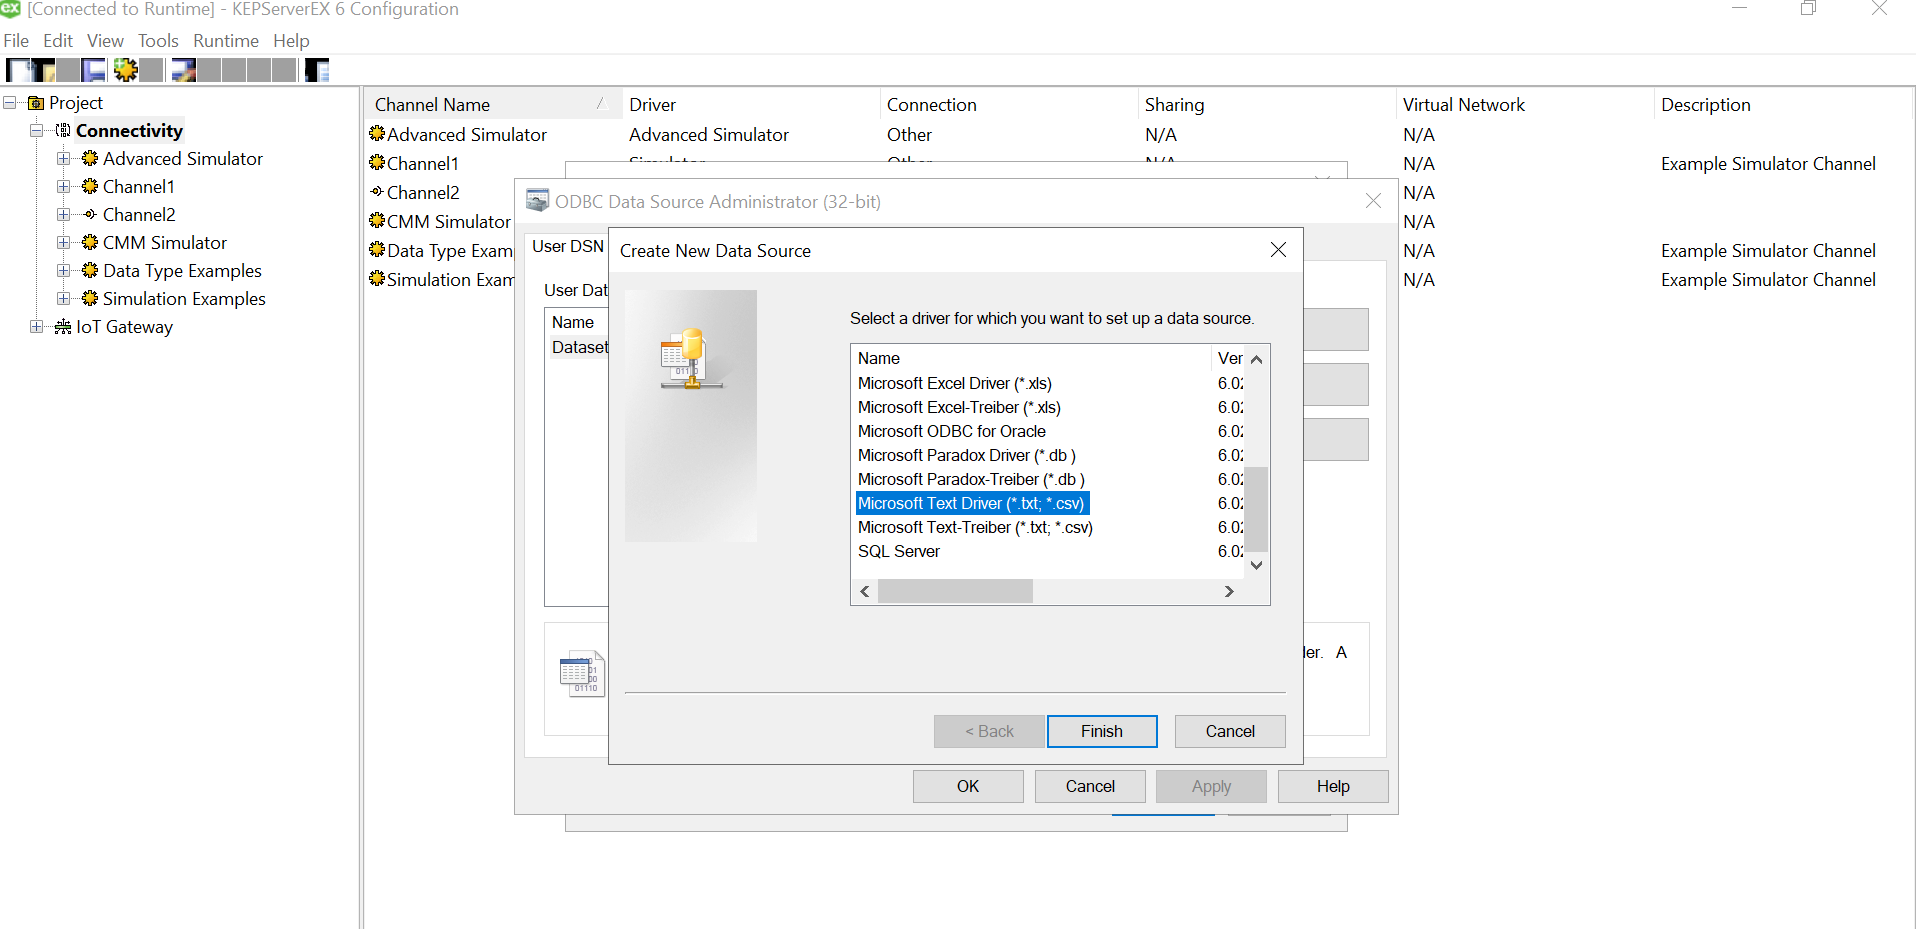
Let us add the data source.. this is where csv is used. Click on the “Configure DSN” and Hit the Add Button on the right of the pop up window.
We need to select the driver for data source. We have an xls file with multiple columns. We converted that into a csv file, so we could use a Microsoft Text Driver (*.txt,*.csv).
Give a meaningful name to the data source and after that select the directory where you have stored your converted csv files, with columns having your simulated data. Ensure that your headings are meaningful as that become your tag values. Also, make sure it doesn’t have space between the text or leading spaces. That will make the tag reading erroneous.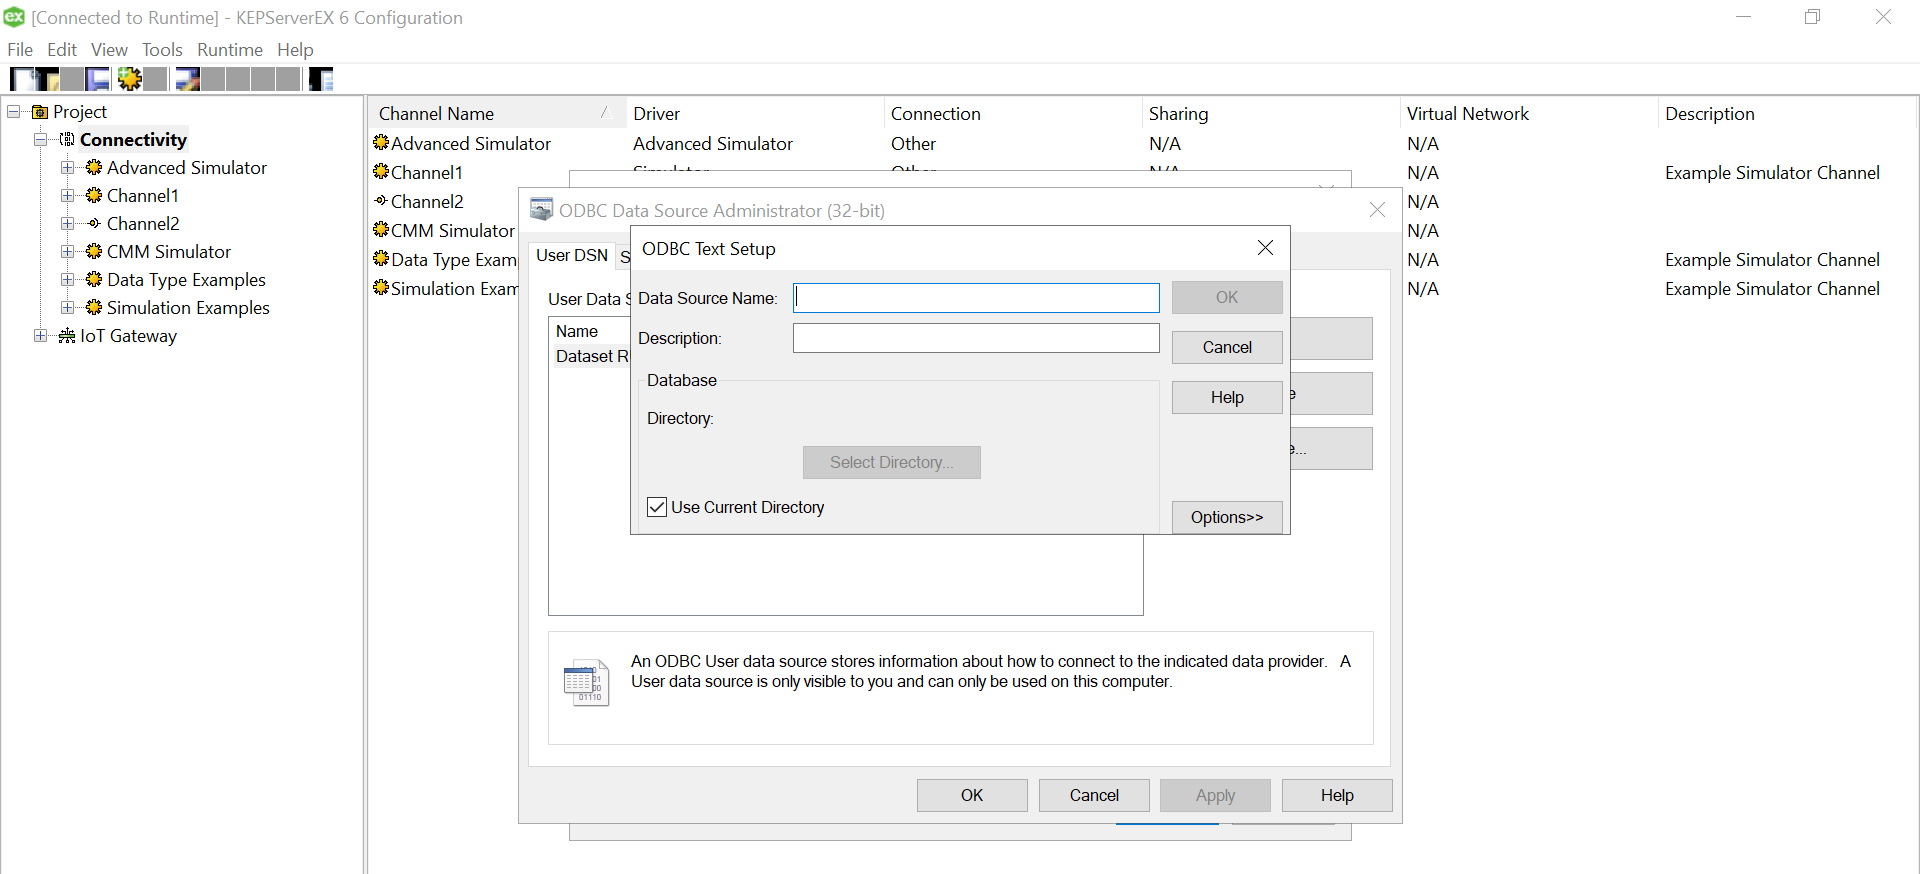 Use “Define Format” feature to select the columns and guess the tag rows. That will help you know if the file is being read correctly. If there are changes to delimiters and stuff we can give all those customizations here. We had a standard csv.
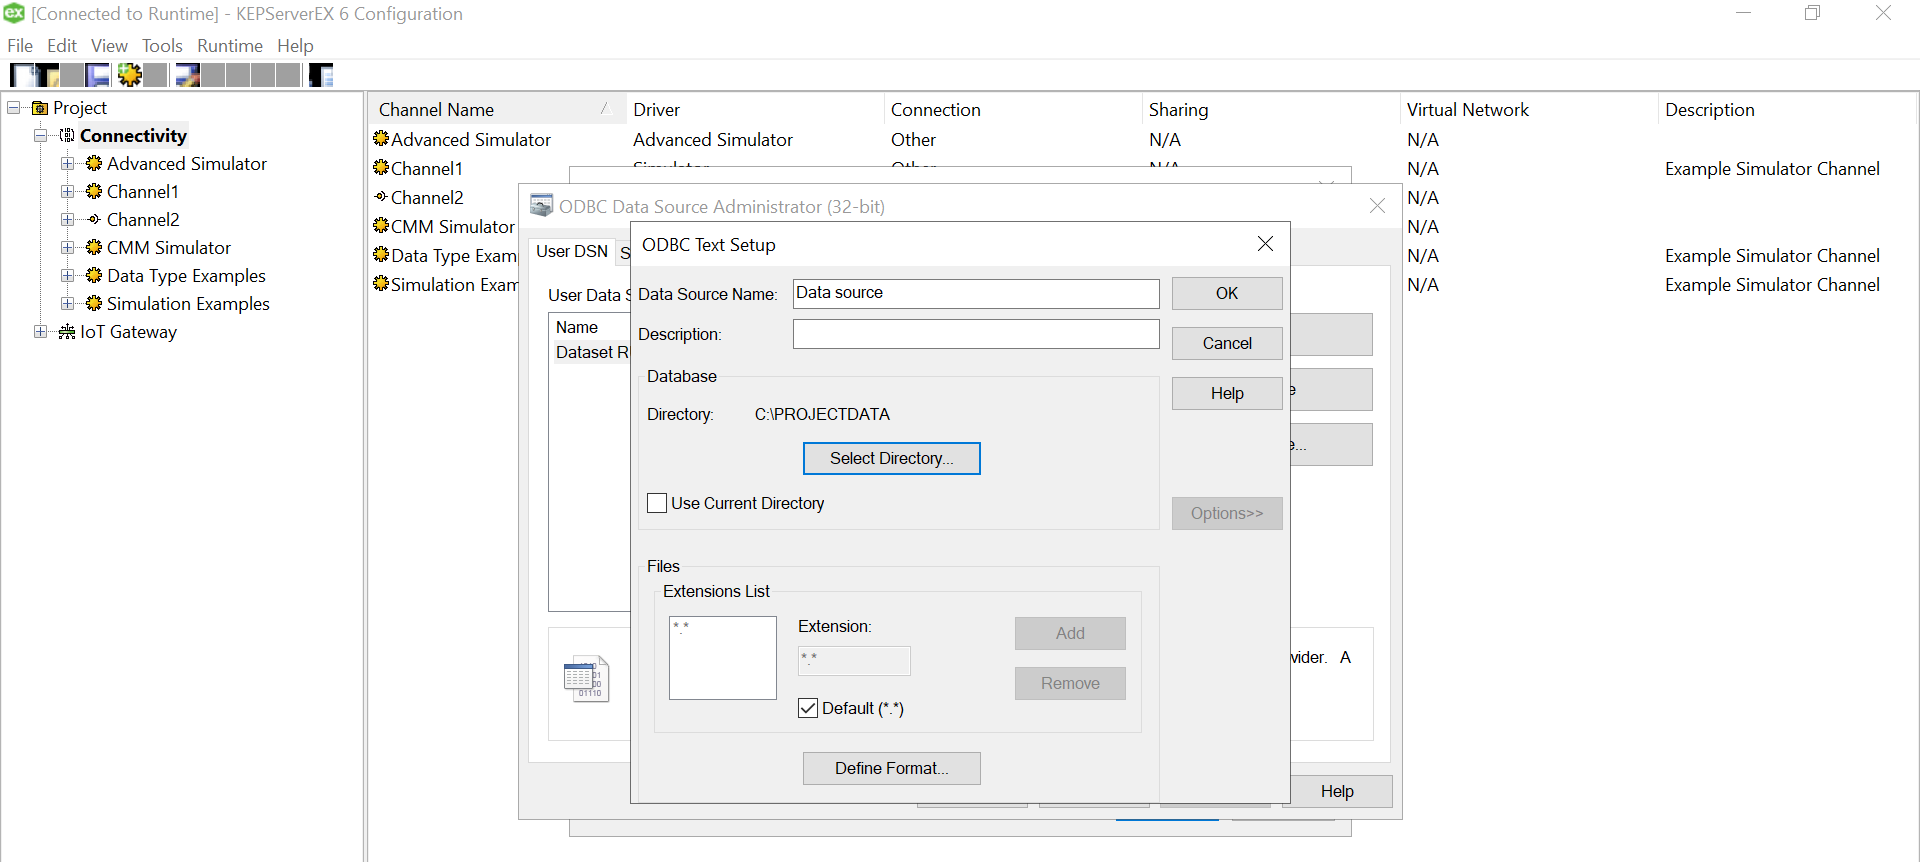

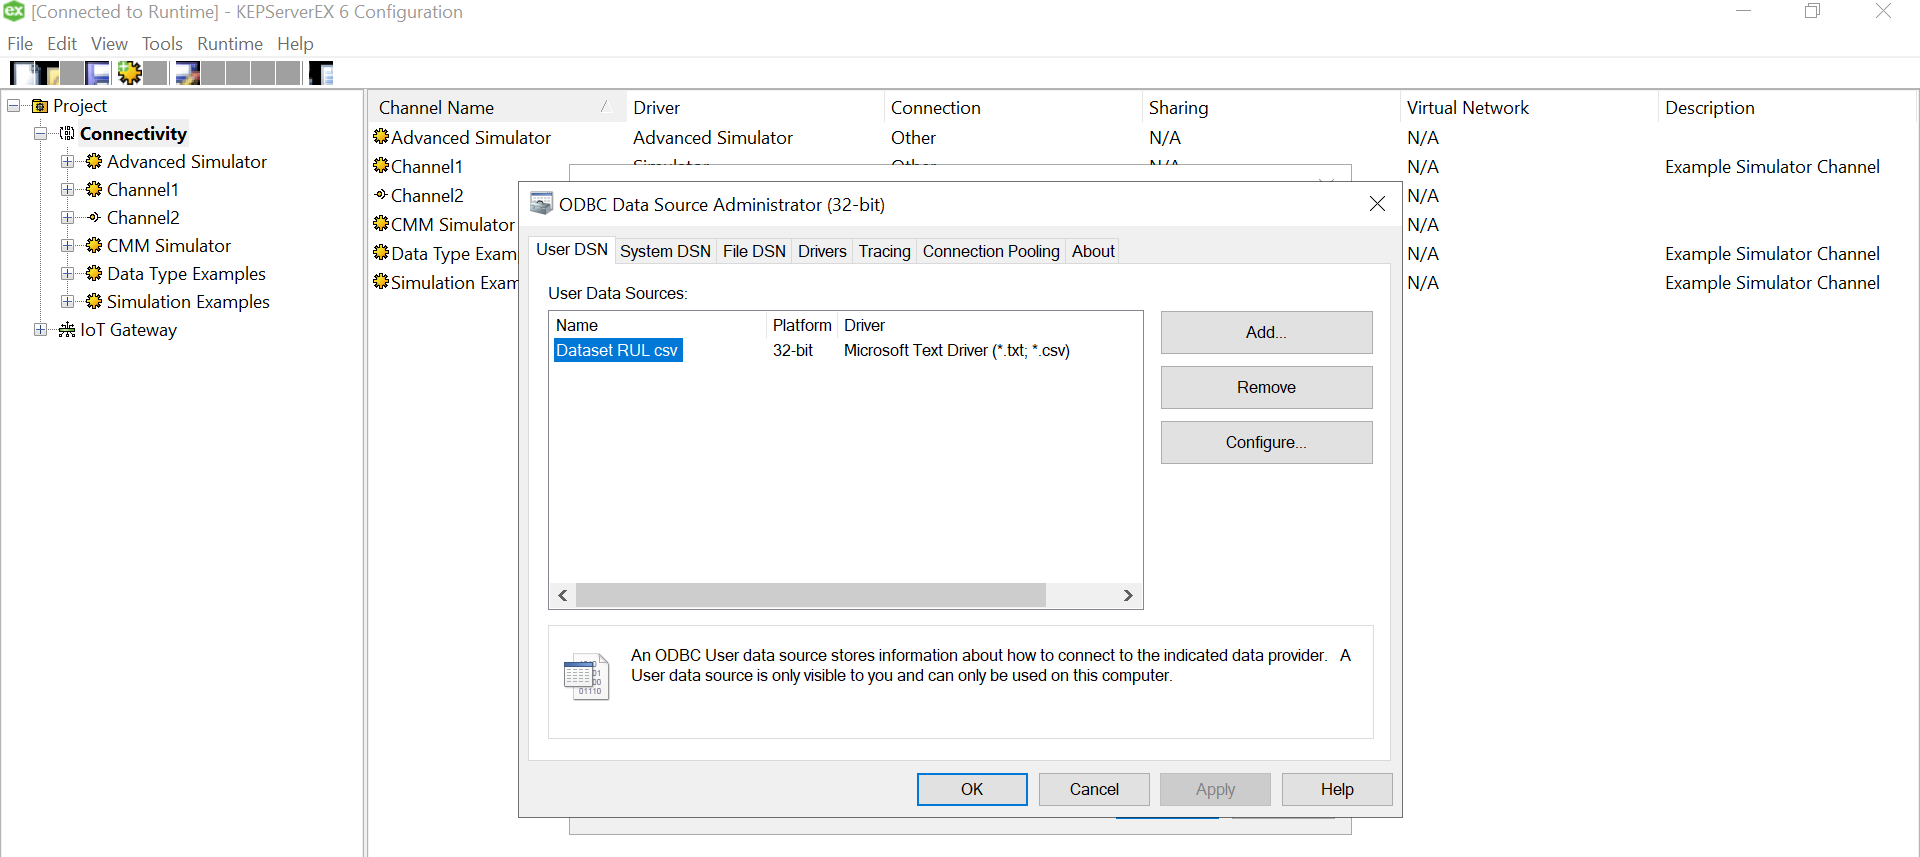
Click on Ok and we are done with the Data Source Name creation with the files specified in the folder.
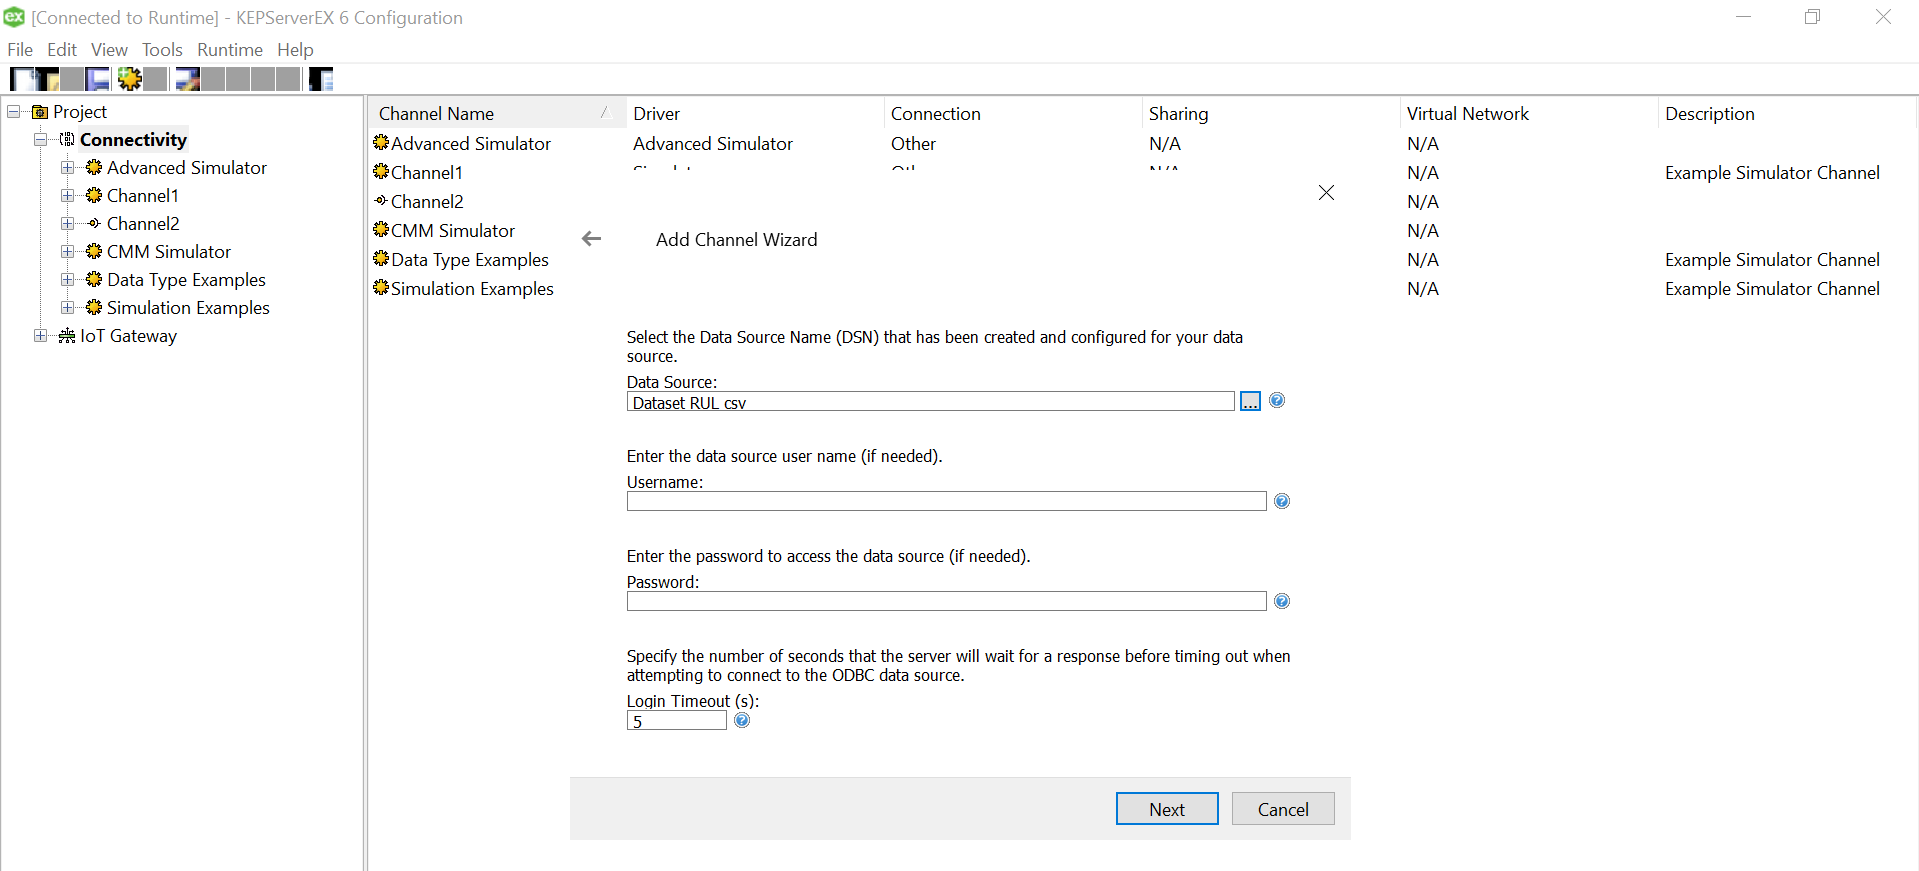
Select the data source that just got created under the “Add Channel Wizard” and click Next.
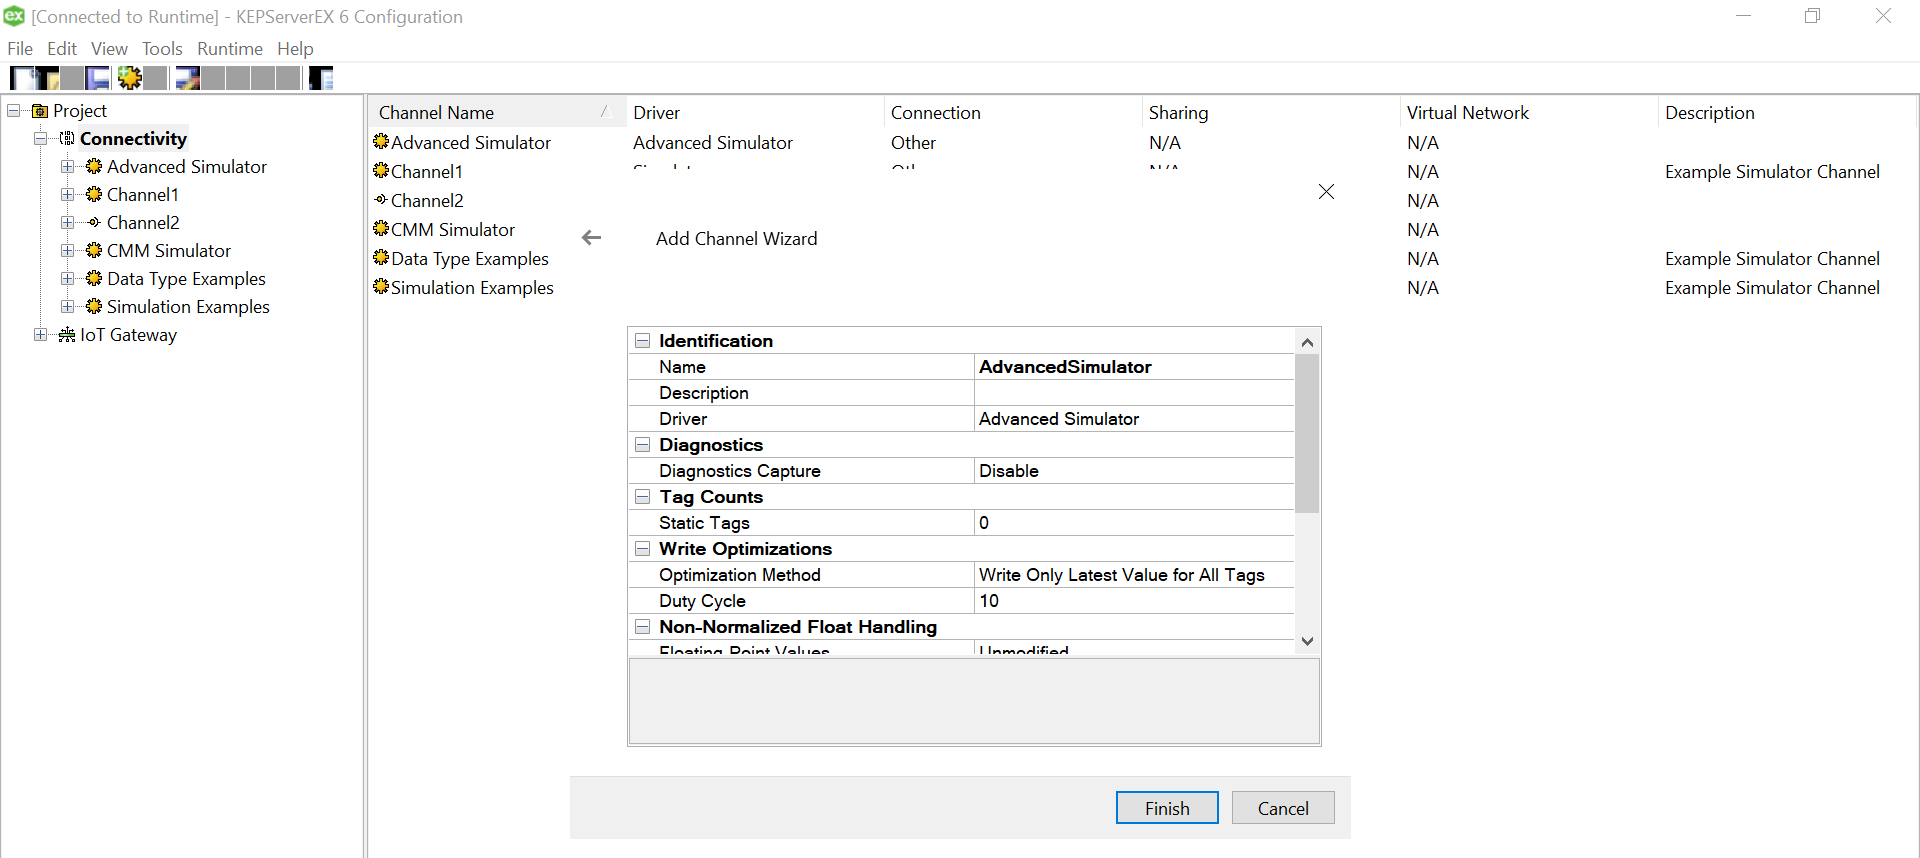
Click “Finish” to complete adding the Channel.
We need to add device that can now read the files from the data source. Right Click on the Channel that got created previously and click on “New Device” to get started.
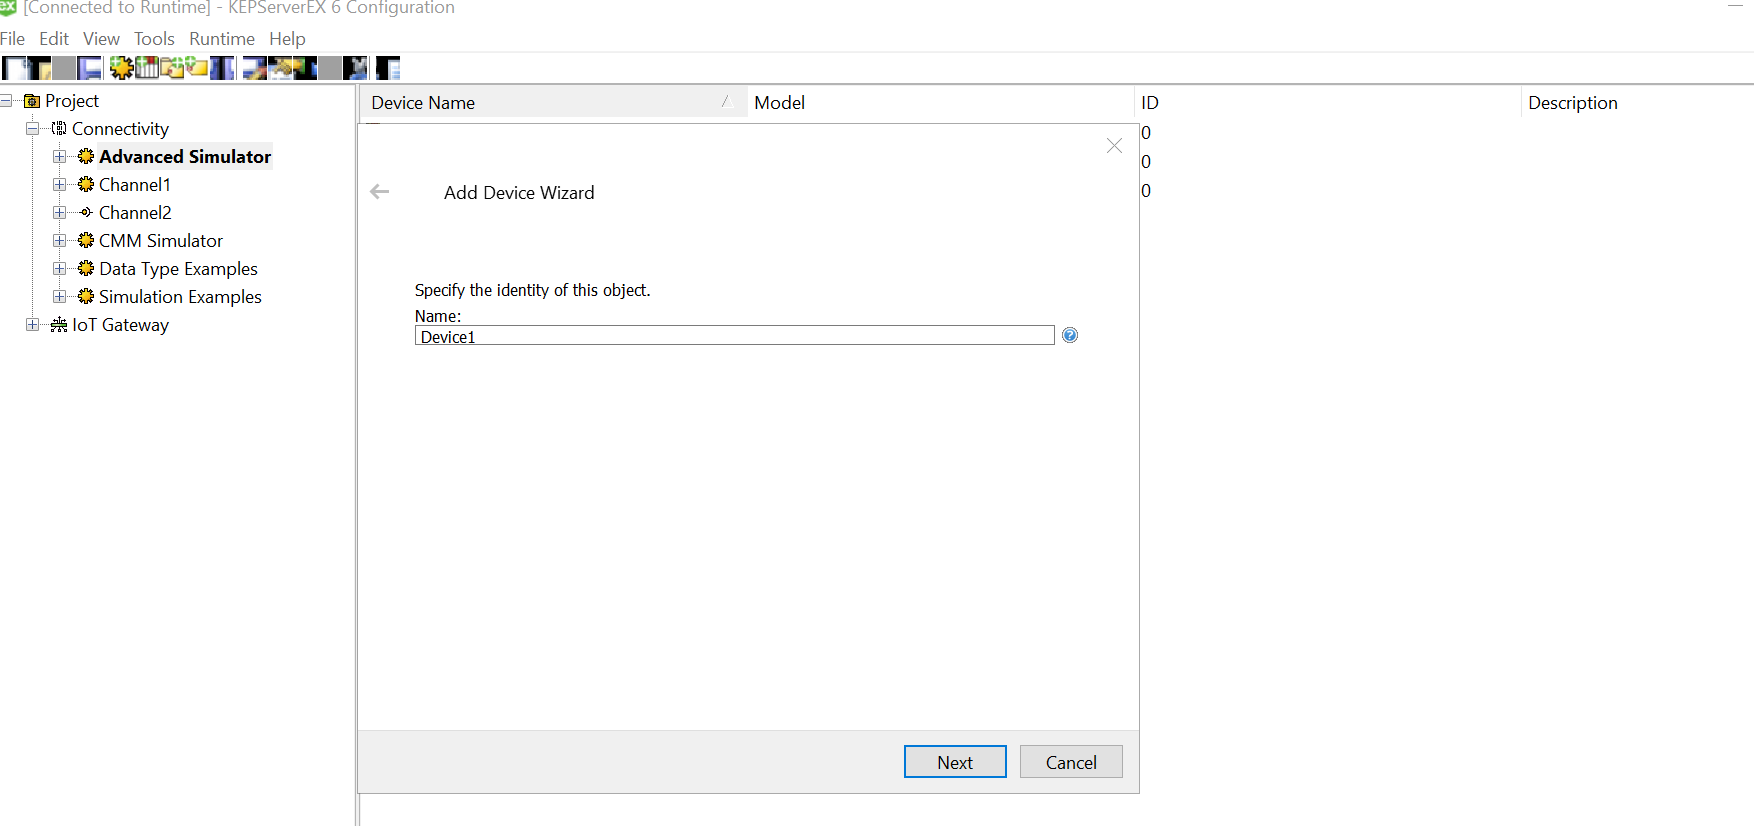
Setting up a device
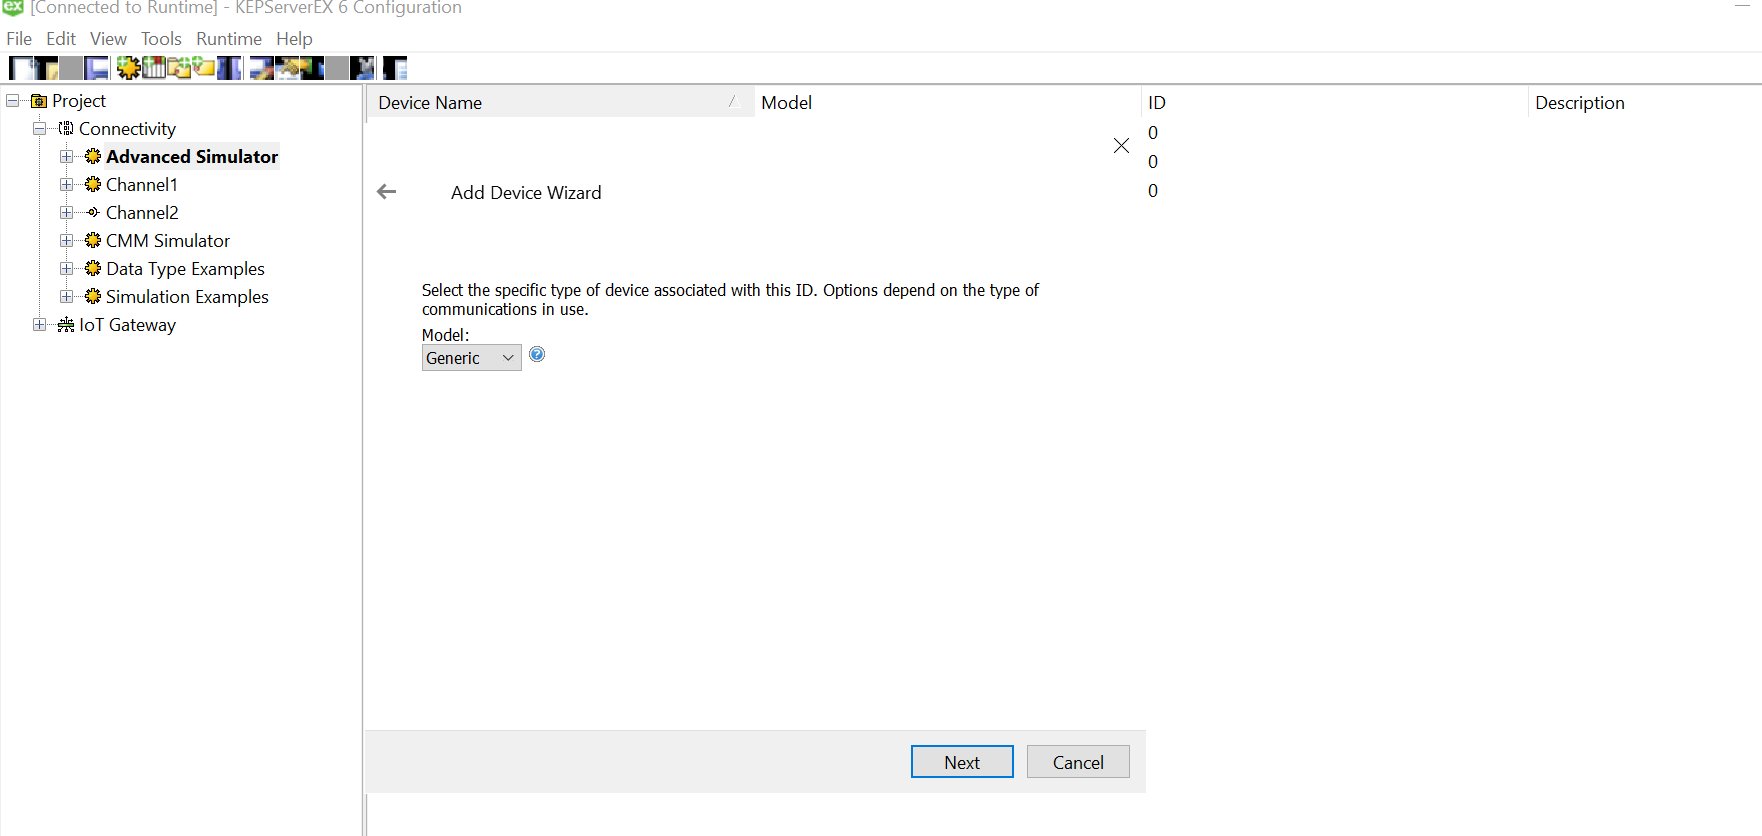
Choose a meaningful name for the device and leave the next window as default in the wizard. 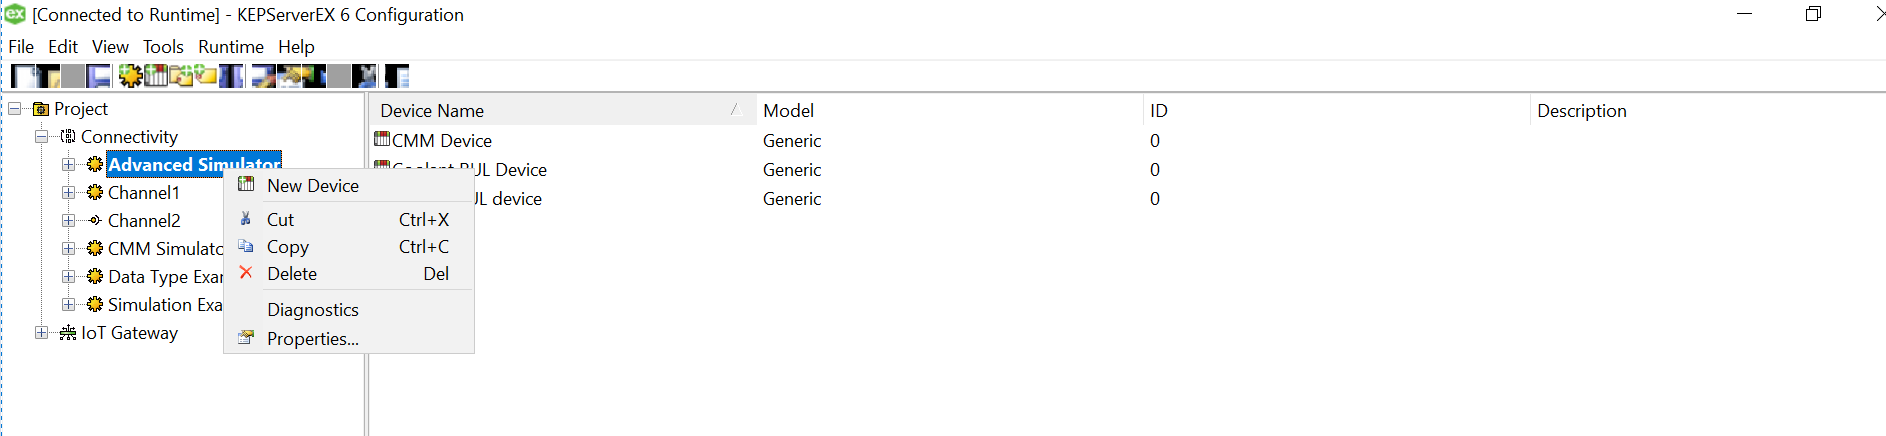
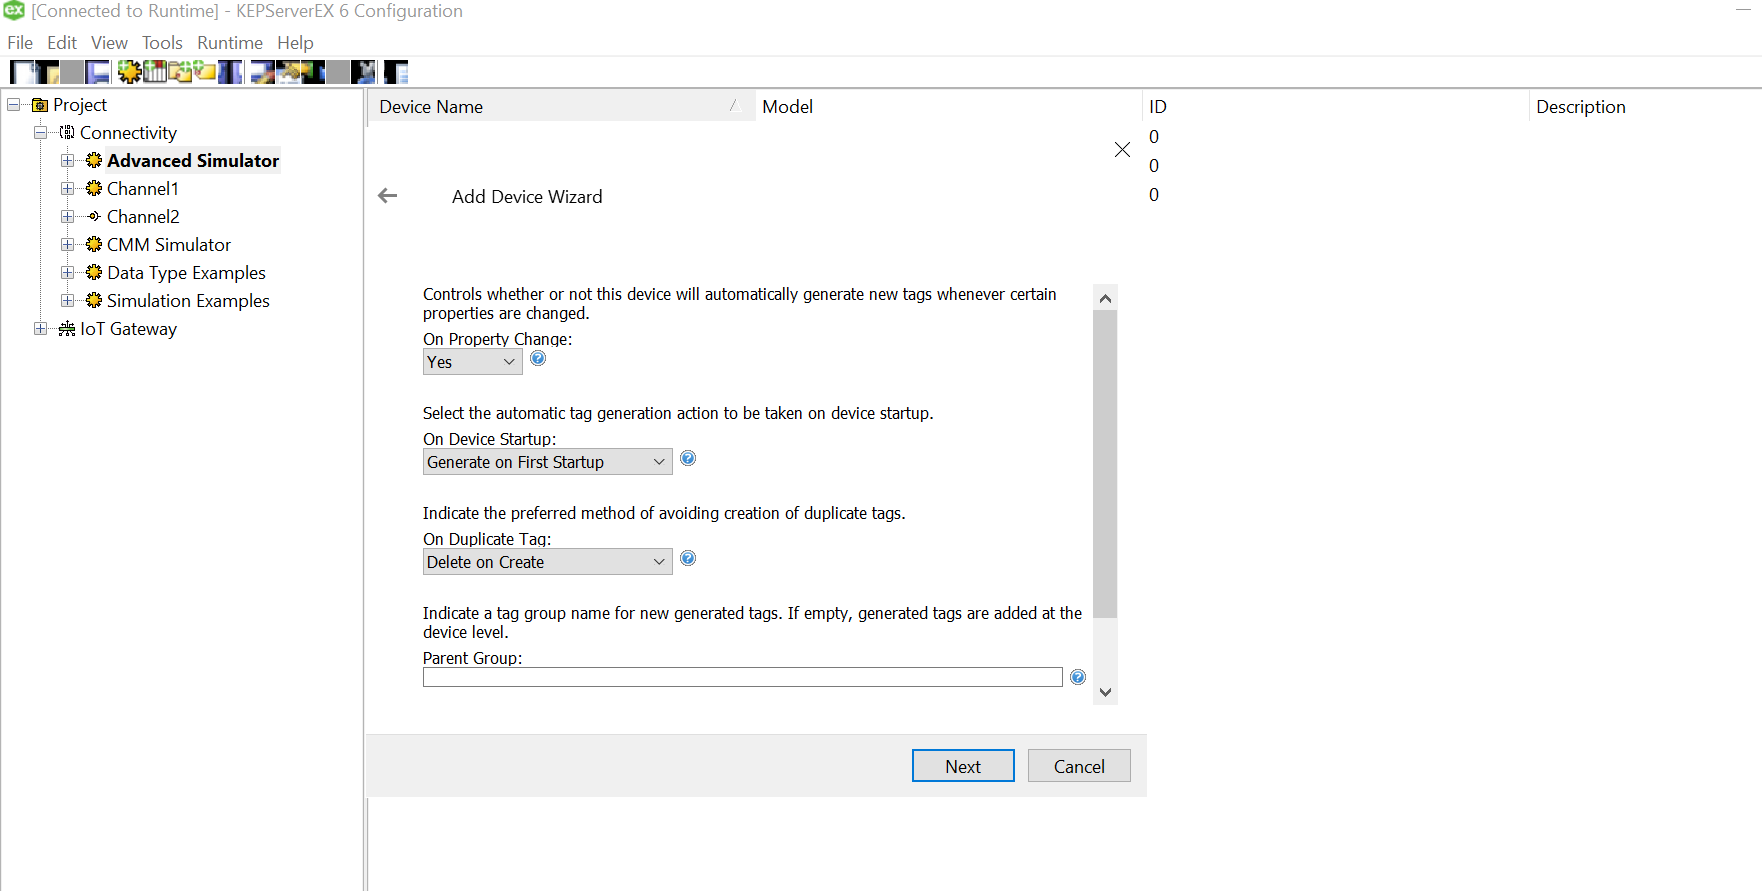
Setting the “Initial Updates from Cache” to “Enabled” helped us create those tag values automatically. Leave the Next wizard as default until choosing Table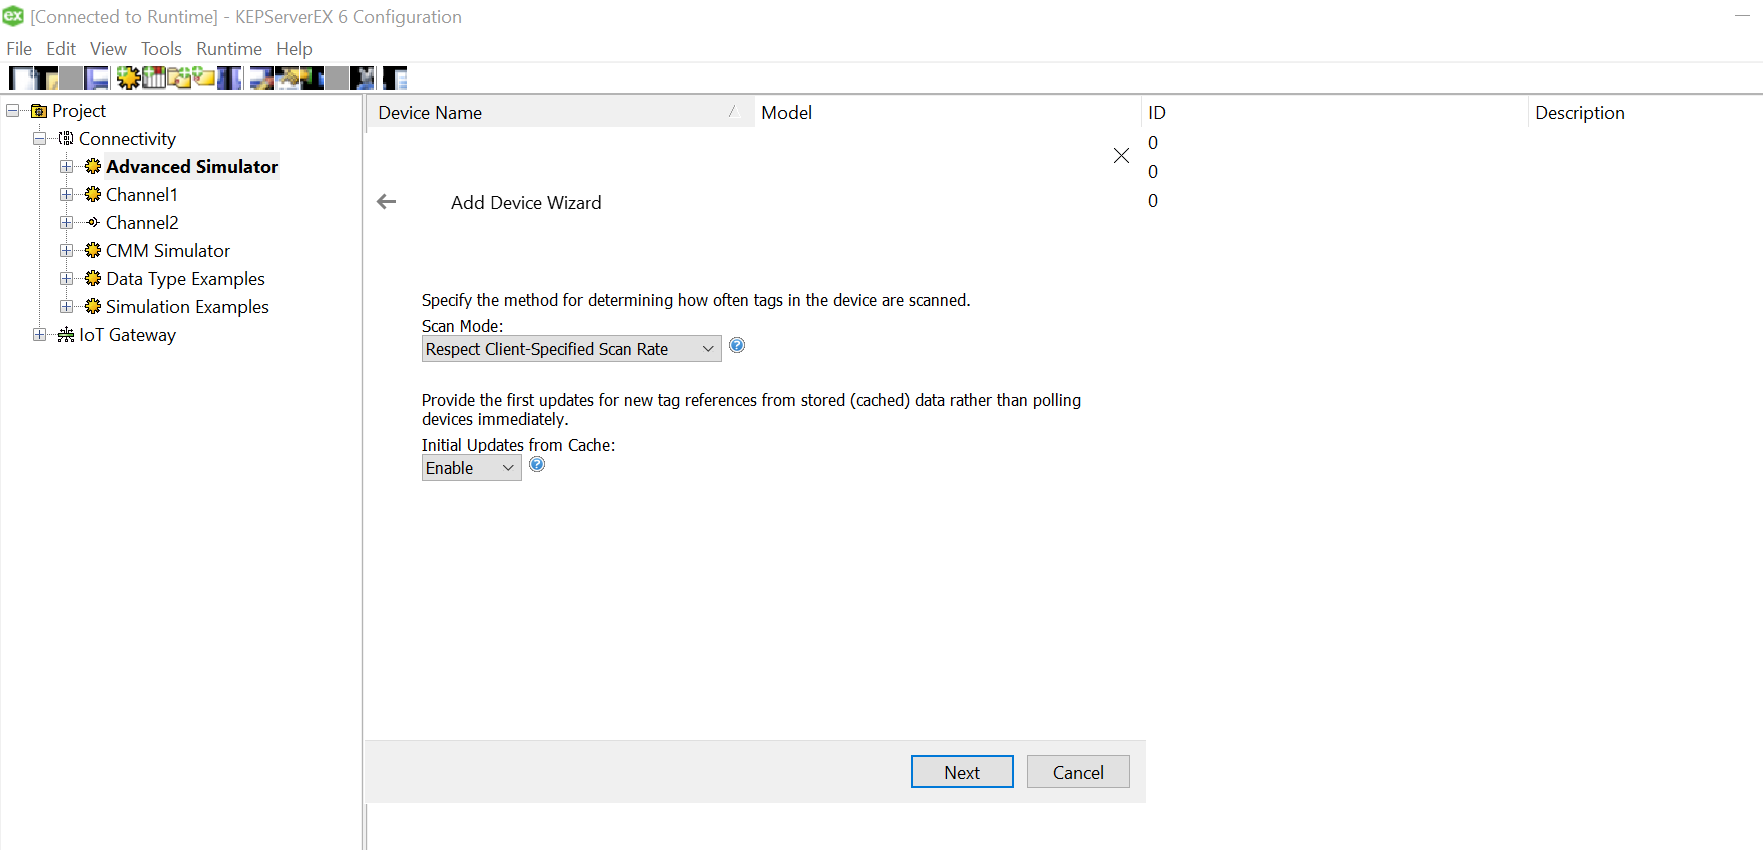
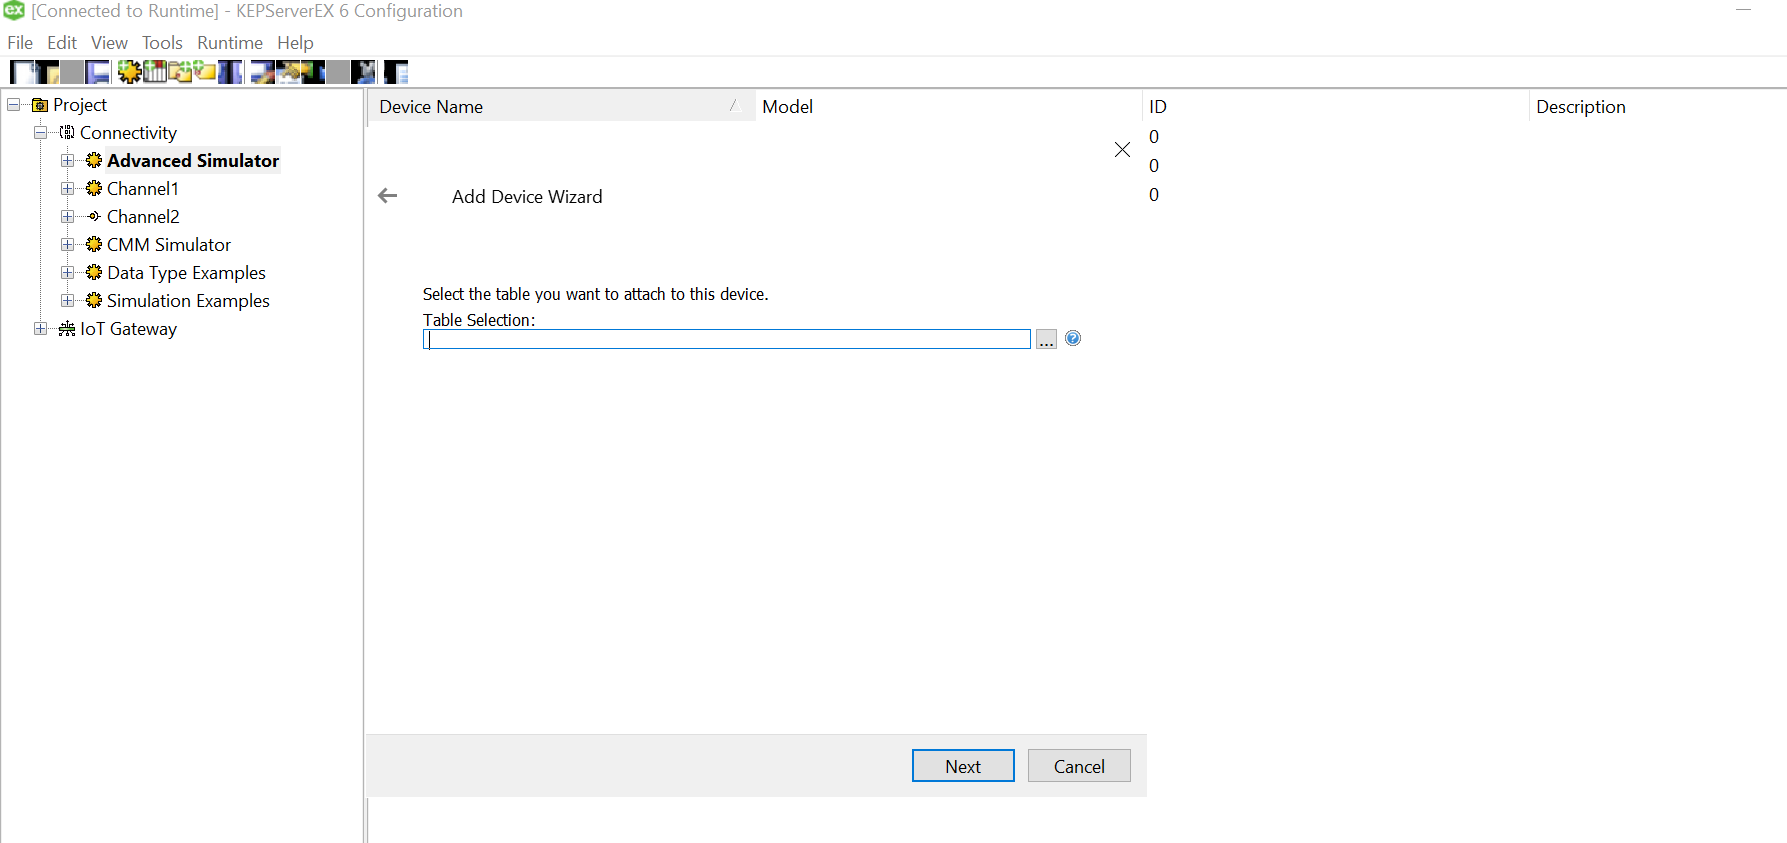 Click on the three dots and select the soecific csv for this device from the data source mapped earlier while setting up channel.
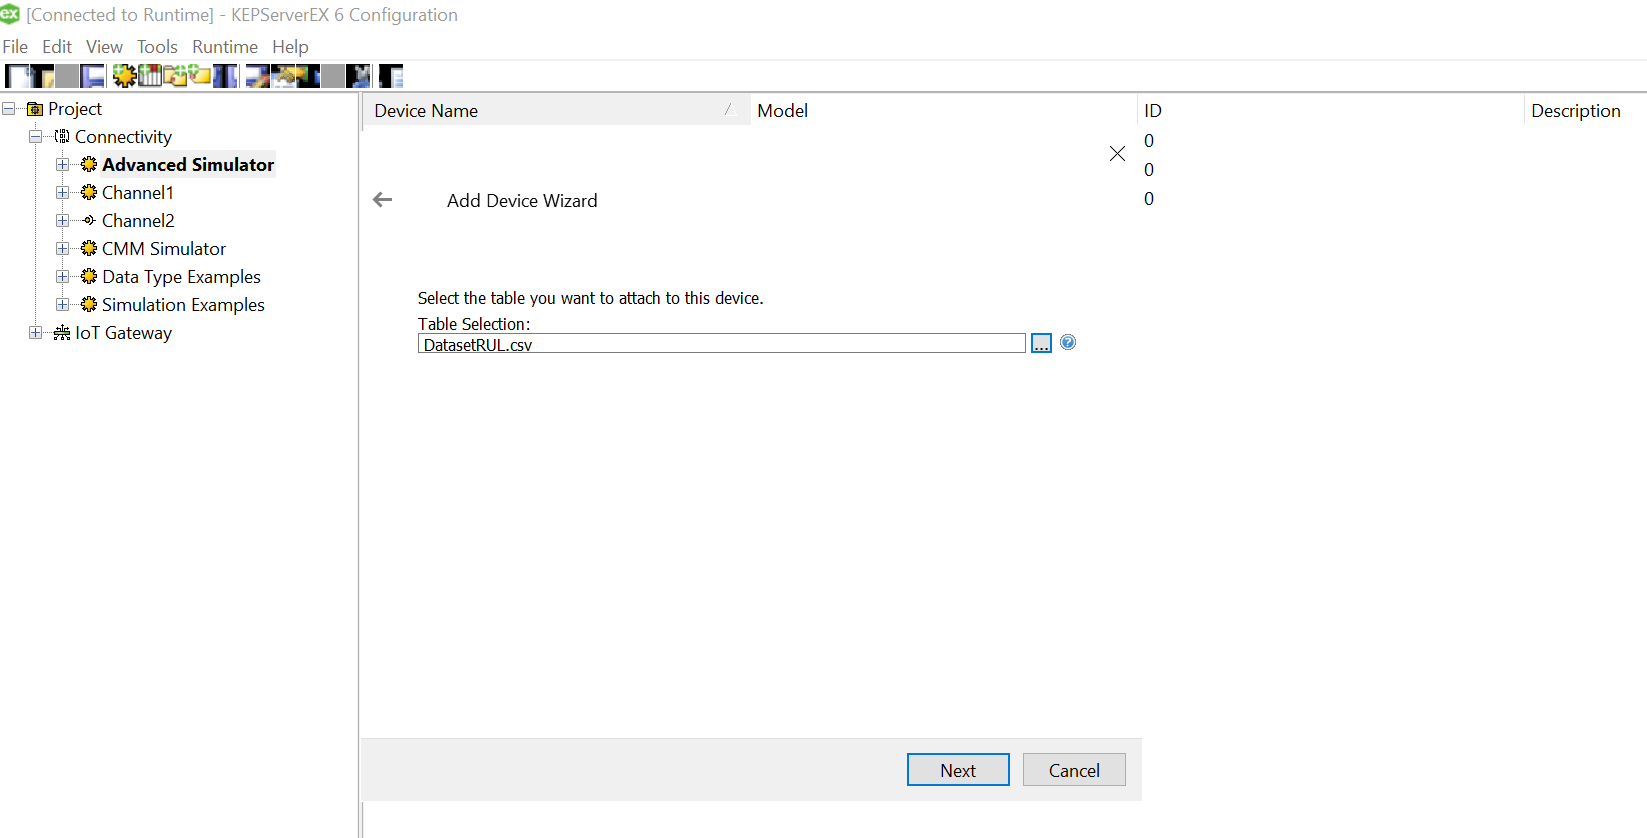
Specify the file read rate in the record selection interval. Please note that the time is milliseconds. Enable looping so that you get continuous stream of data once the cycle gets over. Please note that you need to repeat these steps for all the devices and its CSVs. but those devices timestamps may not be synchronized necessarily. it starts counting whenever it is setup and running.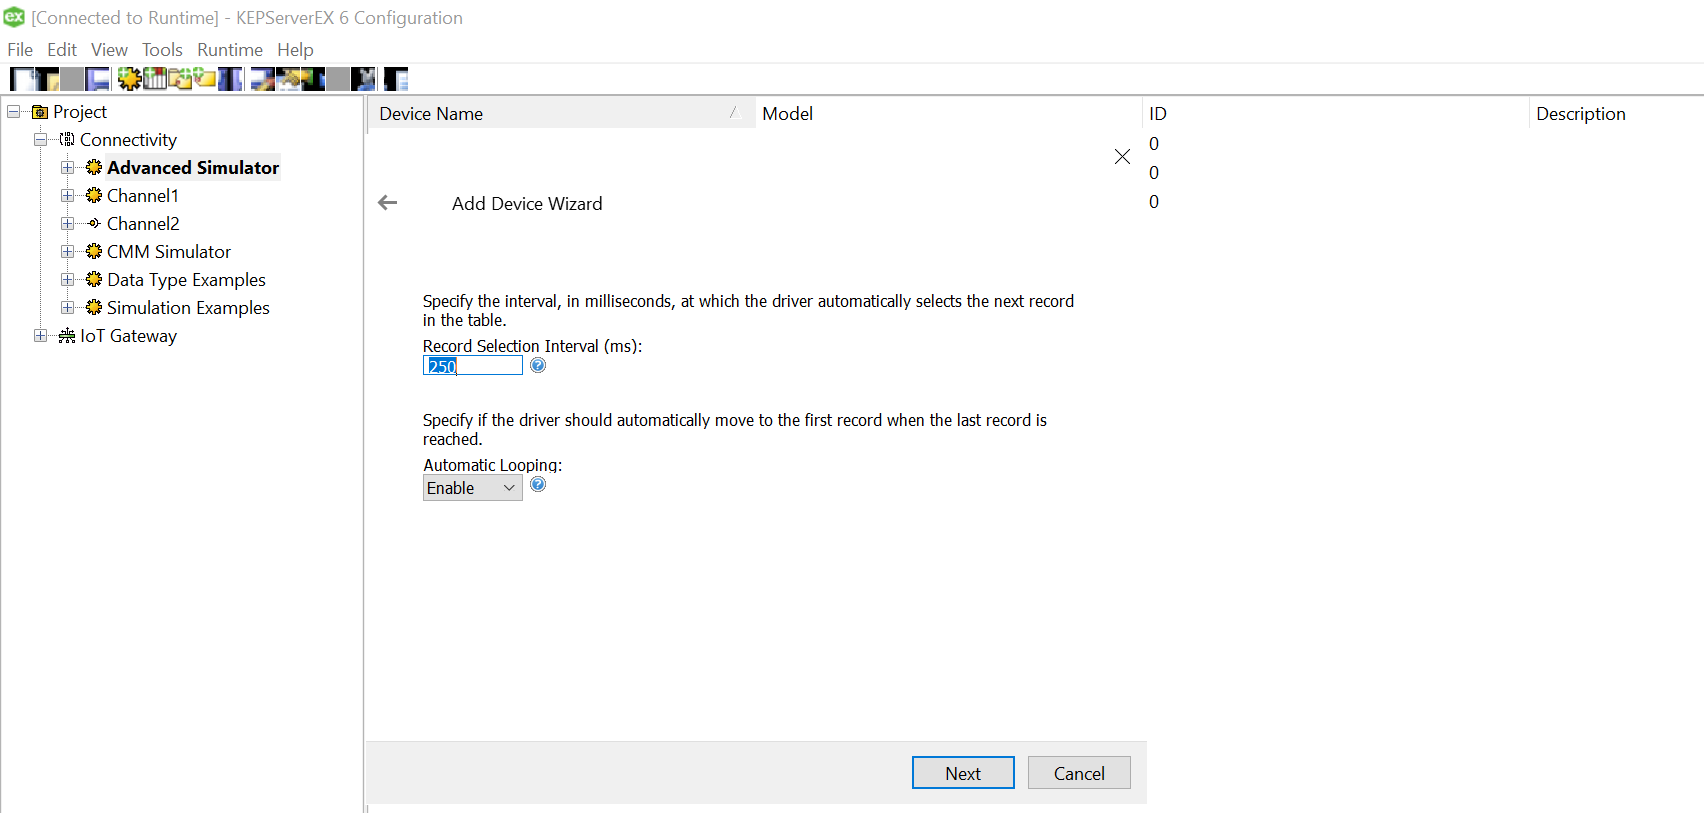
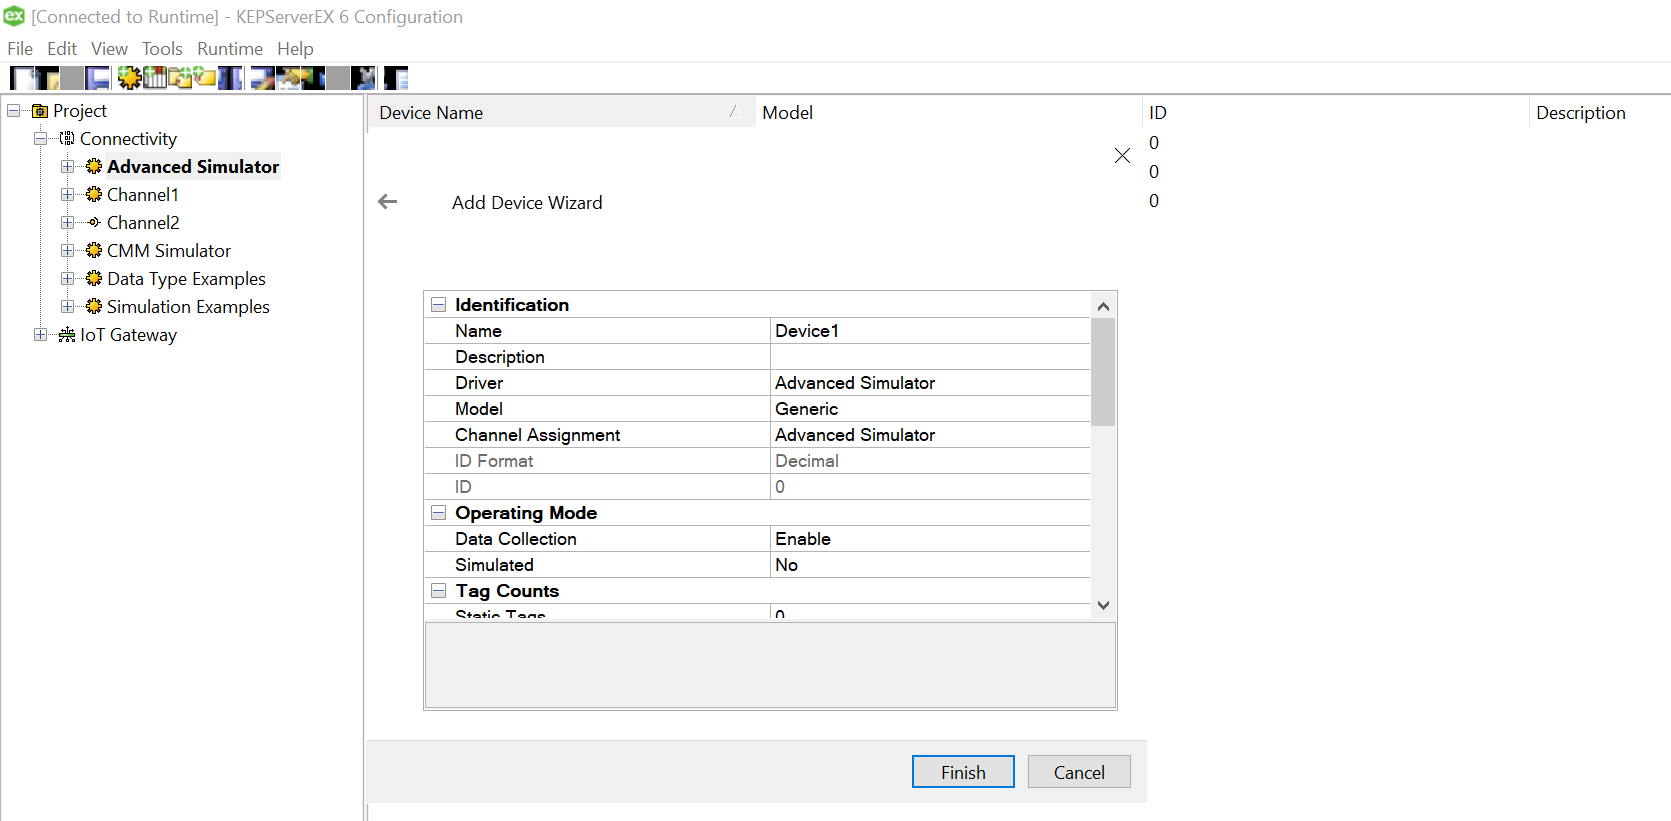 Click Finish and the device is successfully added, the driver should be able to “Generate” the TAG names from the column names. In case, the logs indicate an error as below, you may want to change OPC configuration settings to resolve it.
![]()
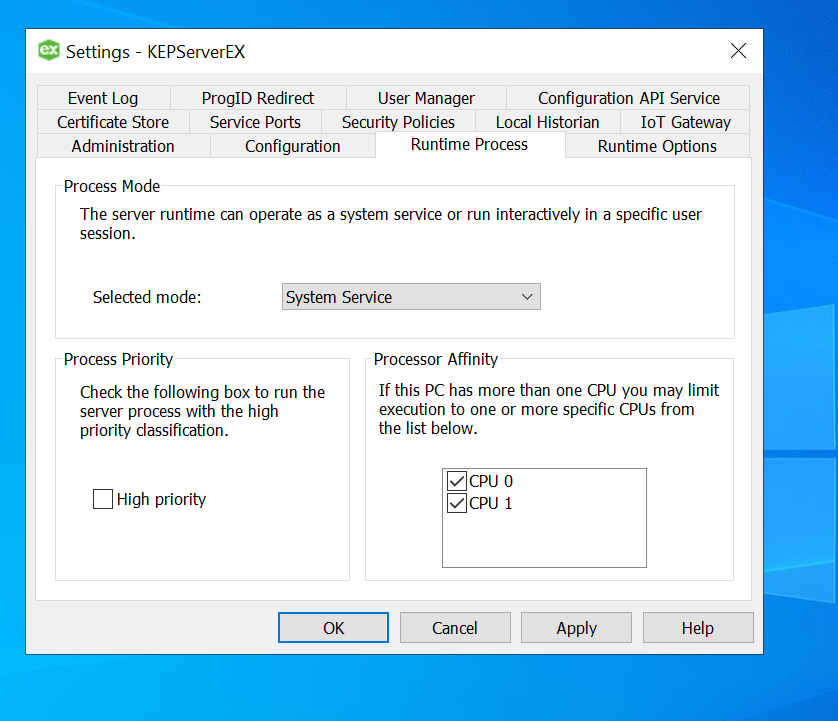
Ensure the user has administrator access on the Kepware so that he can access the kepware administration application as shown below. [It is accessible over the tray icon at the right bottom of the windows ]. Click on the “Settings” and Find and Navigate to the “Runtime Process” Tab. Change the selected mode to “Interactive”

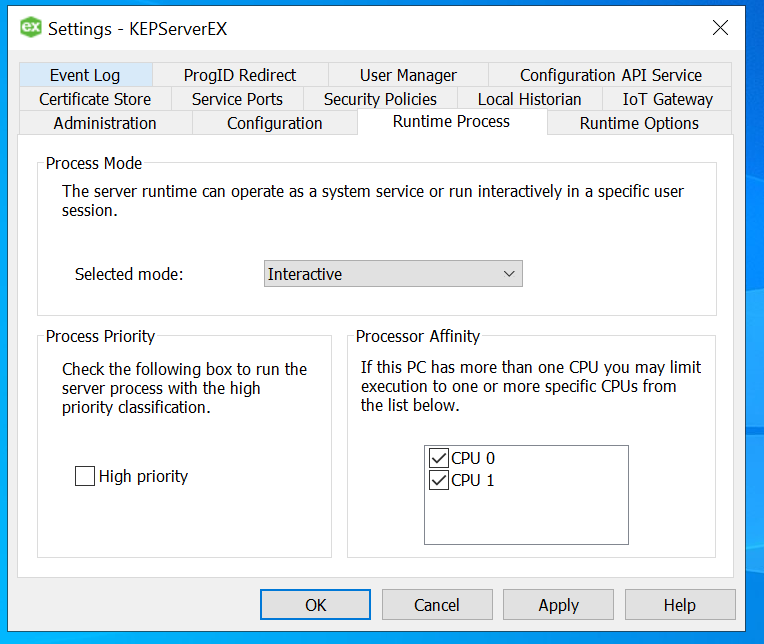
Apply the settings and “Re-initialize” / Stop and Start the Kepware server instance.
The Tags should now be auto generated, and the simulator should be able to read the data from the files successfully.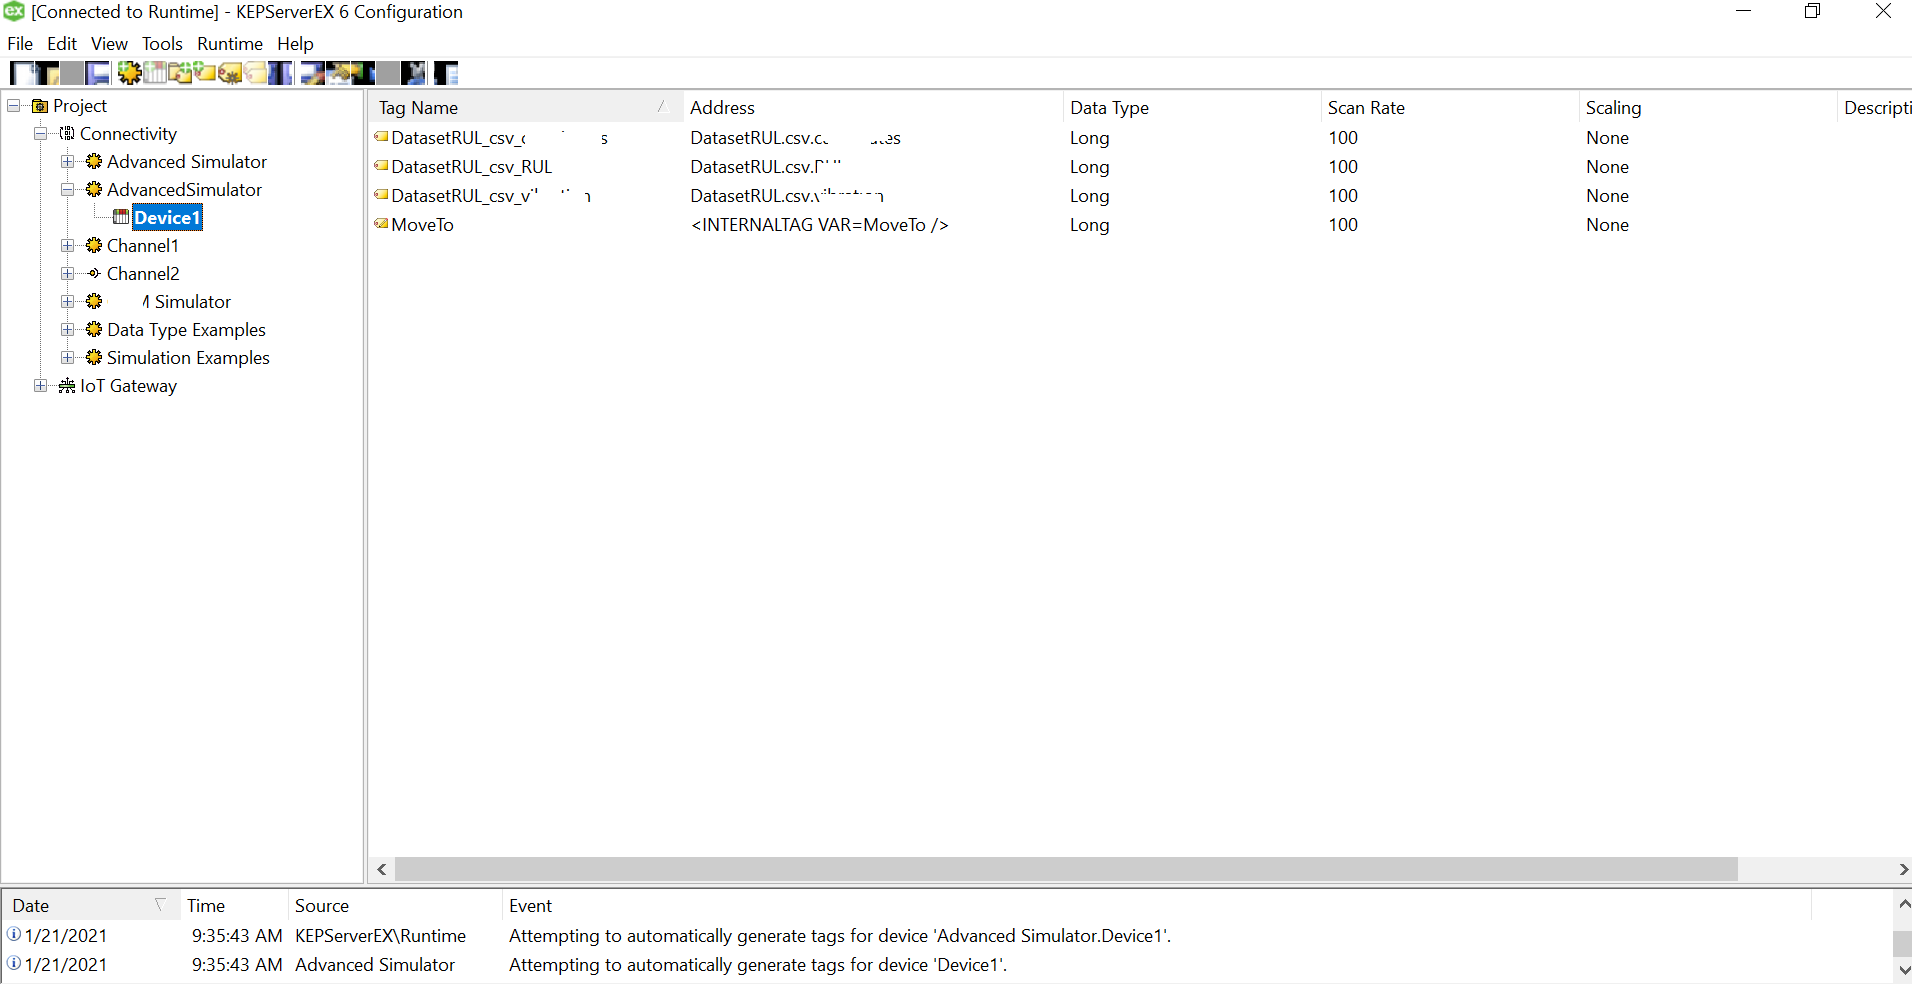
This can now be pushed to either to the IoT Hub or Edge device to process it further!
Happy Simulations.. 🙂

A nice guide.
Regarding the “In case, the logs indicate an error as below”…
You can leave the Kepware’s Process Mode as is and just change the “Log On” property for the “ThingWorx Kepware Server 6.10 Runtime” Windows service to “login as the user” instead of the default “LocalSystem” account.
Awesome..! Let me check that. Thanks
Could you please provide a sample of what the CSV file looks like? A snapshot of the first few rows would be sufficient provided that all of the columns are shown. Thanks!